
- Turn your phone upside down. This significantly improves the field of depth of the photo for wide shots. It also captures a better angle of the food in the photo for close up photos along with enhancing texture and color.
- Tap your screen for more light. You can manually adjust the brightness of a photo by tapping on different areas of the screen. This also forces a yellow box to appear in the area allowing you to touch and hold the sun icon and drag the light brighter or darker by moving your thumb up and down.
- Never use the flash feature. When it comes to photographing food, natural lighting is best to capture colors and textures. An easy way to create natural light is to use a second Smartphone on the flashlight feature and
 hold it as overhead light if needed.
 - Use objects in the photo as arrows. This technique is used to help draw the viewer’s eye in a certain direction through the photo. “The Rule of Thirds” is a common photography term meaning the subject should never be in the center of the photo. Allow linear features in the image to flow from section to section.
- Don’t over-zoom. Don’t take a shot so close that the viewer has no idea what the dish is like. Instead, give the food context. Previewing a few of the ingredients that went into the dish or foods that pair well as a side dish with the main entry is a common photo style for food bloggers.
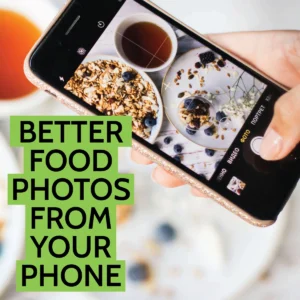
- Choosing the best angle. Holding the phone slightly tilted or taking a photo with the phone upside down can help you get a stunning angle. No one angle is the best for food, so try them all on your plates!

***Bonus tip! Try using the volume keys on your phone to take a picture instead of tapping the icon with your finger. This helps you hold a steadier hand and avoids especially if you tend to be shaky. You can also use the volume keys on a headphone set when plugged in.